Double Chocolate Hot Cross Buns
Double Chocolate Hot Cross Buns
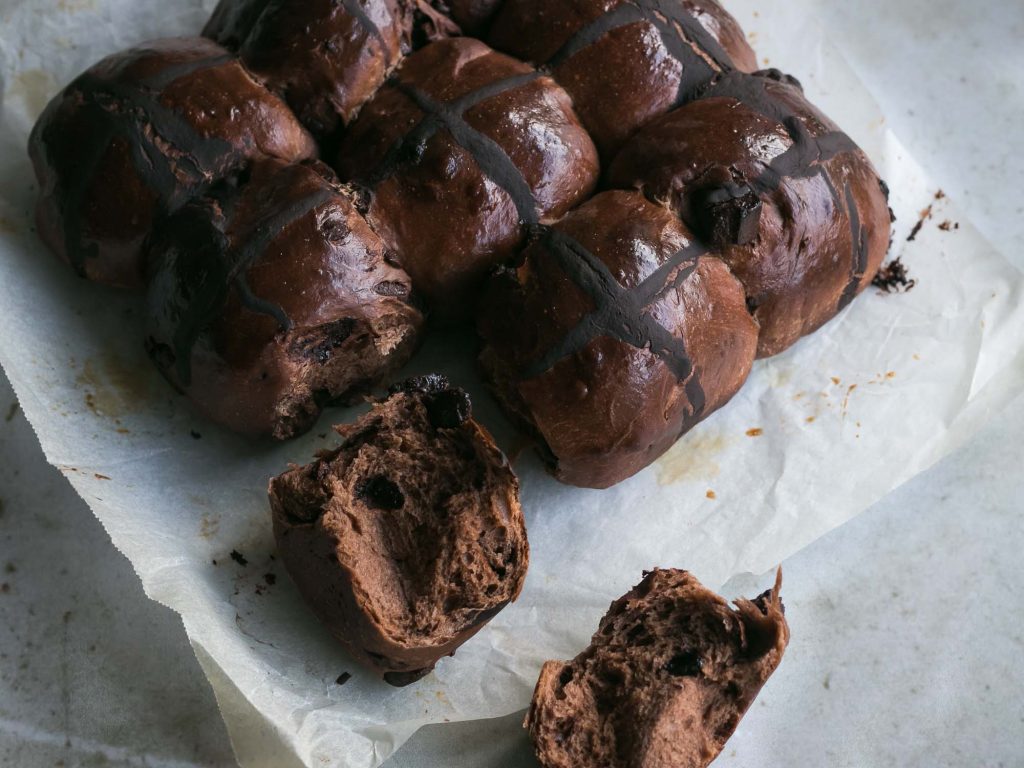
I’m putting it out there that I’m not a big fan of traditional hot cross buns – all that dried fruit and fruit peel does nothing for me. A fluffy chocolate hot cross bun stuffed with chocolate pieces? Sign me up! When I created this recipe I wanted a bun that tasted chocolate-y and was a good way to use up the random bits of cooking chocolate I had floating around in my pantry. I put some tips at the end of the recipe to help you along the way.
INGREDIENTS
Dough
300g Baker’s flour (plus 2-3 tbsps extra set aside, if needed)
18g Dutch processed cocoa
15g skim milk powder
40g caster sugar
6g salt
3g instant dried yeast
1 tsp cinnamon
1 egg plus enough water to equal 105g, room temperature
105g milk, room temperature
30g unsalted butter, softened and roughly chopped
120-160g good quality dark chocolate, roughly chopped OR chocolate chips/chocolate melts
Paste for crosses
5g cocoa powder
13g flour
25-30g water
3g vegetable/olive oil
Egg wash: 1 egg + splash of water lightly beaten together
METHOD
In the bowl of a stand mixer, mix together the egg, water and milk. Add in 300g of flour, the cocoa powder, cinnamon, milk powder, caster sugar, salt and yeast. Note: if you’re not sure if your yeast is good or not, you can first warm up the milk slightly and add the yeast and see if it becomes a little foamy.
Mix everything together with a spatula or wooden spoon till the dry ingredients are incorporated. Cover and set aside for 10 minutes (this will reduce the amount of kneading time).
Using the dough hook on the stand mixer, knead the dough on low (usually speed 2 on KitchenAid/Kenwood stand mixers) for 5 minutes until the dough is looking smooth and pulls away from the side of the bowl.
With the mixer on, add chunks of butter in. The butter will slowly be kneaded into the dough and it’ll seem quite sticky to begin with. Knead for 5 minutes and the dough should be looking like it’s starting to pull away from the bowl. Touch the dough and if it seems quite sticky, add in 1 tablespoon of extra flour at a time. Check after each addition to make sure the dough isn’t overly sticky. I like to finish the dough off by hand kneading on the bench for an extra 5-10 minutes but otherwise you can continue in the stand mixer for another 5 minutes. The dough should feel soft, not stick to the benchtop and can be shaped into a smooth taunt ball. When you press down on the dough, you can feel a bit of resistance.
When the dough has finished being kneaded, shape it into a ball and place it in a bowl that’s been lightly greased with olive oil. Roll the dough around to lightly coat it. Set aside for 1 hour. If the room temperature is around 20-22 degrees, you’ll find the dough will have risen within that hour (not necessarily doubled – I find the cocoa powder limits how puffy the dough becomes at this stage).
Flatten the dough out into a rectangle on a lightly floured benchtop. You’re going to incorporate the chocolate by scattering some of it all over the dough. I then fold 1/3 of the dough into the centre and scatter more chocolate over that fold and repeat on the other side. I flatten the dough out and scatter more chocolate over the dough before folding it. I find it easier to incorporate the chocolate pieces this way when I keep folding and exposing surfaces to add chocolate pieces rather than dumping it all in the middle of the dough and kneading the chocolate pieces in. Once all the chocolate pieces have been incorporated, I cover the dough on the bench with a clean tea towel and let it rest for 15 minutes.
Weigh the dough and divide it into 9 pieces. Line a 20.5cm square baking tin with non-stick baking paper, making sure to line all the way past the sides.
Take a piece of dough and flatten it before rolling it into a tight ball and placing it in the baking tin, repeat with all the pieces of dough. Allow some space between dough as they will expand during the final proof and during baking. Cover the baking tin with a tea towel and set aside for 1 hour. For the last 30 minutes of proofing, preheat the oven to 175 degrees conventional/165 degrees fan forced.
The buns are ready to be baked when you press down on one and you leave a dent that slightly fills up when you take your finger away.
Make the paste for the crosses by mixing the cocoa powder, flour, oil and water together. The consistency has to be slightly runny (too thin and the paste will crack when baked). Place the mixture in a piping bag. Brush the buns with the egg wash and then pipe the crosses over the buns by piping continuous lines from one end of the tin to the other.
Bake in the oven for approximately 18-22 minutes. The buns are ready when you measure the internal temperature to be between 87-88 degrees celcius.
TIPS
If you want nice neat hot cross buns, use chocolate chips or roughly chopped chocolate melts but I like chunky bits of chocolate. 160g of chocolate really loads up the bun but is harder to work with, as a minimum use 120g of chocolate but that’s a personal preference.
If you want to add traditional hot cross bun spices into the mix go ahead but I’m happy with a bit of cinnamon.
These taste best when they’re freshly baked but a 20 second warm up in the microwave the next day works wonders.
If you don’t have milk powder, just substitute the water with milk.
I like to do the first 10 minutes of kneading of this dough in a stand mixer but finish it off by hand. You can knead the whole thing by hand but it takes a bit of commitment and upper body strength.
The amount of kneading time is a guide, I usually judge whether this dough is ready by how smooth the surface becomes, it should feel soft and slightly tacky but not sticky and when you shape it into a ball to proof and press on it, there should be some resistance.
An optional way to finish off the buns is to make a glaze by dissolving a spoonful of jam (raspberry/strawberry/apricot) in some boiling water and then brushing the buns with the glaze whilst they’re still warm. This will make the buns look more glossy.